
So, fun fact: I have a boyfriend! This isn’t new news to the real world (we started dating in December 2018) but it is news to the blog world. I’ll introduce Todd properly over the next few posts, but for now all you need to know is that he’s asked me to “revolutionize the world of blogging” by cutting through all the BS (like this exposition paragraph that no one cares about) and post the recipe right at the top of the page! Everyone ooh and ahh with me. He’s not wrong, though. I can’t tell you how many times I’ve harrumph-ed in anger when trying to read a recipe on my phone, only to find I have to scroll past 82 pages of unrelated exposition story. One worse are the times when I have to scroll past links to other recipes before even getting to the one I’m searching for. It drives me nuts! So from here on, I’m changing the format of my blog (slightly). I’ll still lead off with an intro paragraph, because I need something on the home page that you can click “read more” on, but then I’ll launch right into the printable recipe. After that, I’ll continue on with the step-by-step with photos, in case you need or want to follow the whole process. Now that all of that is out of the way, let’s get started!
- 1 ¼ cups all-purpose flour, plus more for dusting
- ½ cup grated parmesan cheese
- 1 Tbsp fresh rosemary, minced
- ½ tsp salt, plus more for sprinkling
- ½ tsp pepper
- ¼ tsp cayenne, or more or less to taste
- 4 Tbsp unsalted butter, very cold
- ¼ cup heavy whipping cream (plus 1-2 Tbsp, if needed)
- Apricot Jam
- Goat’s Cheese
- Preheat the oven to 400˚F. Line two large baking sheets with aluminum or parchment paper.
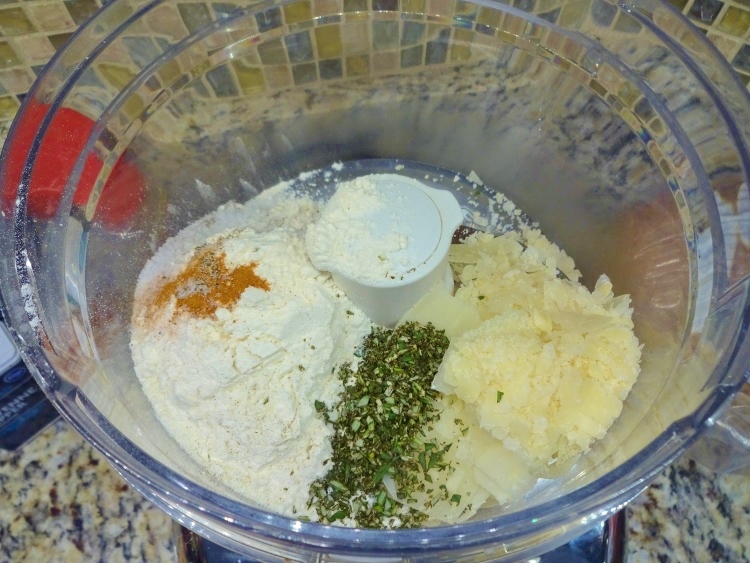
- In the bowl of a food processor, combine flour, Parmesan, rosemary, salt, pepper, and cayenne. Pulse to combine.
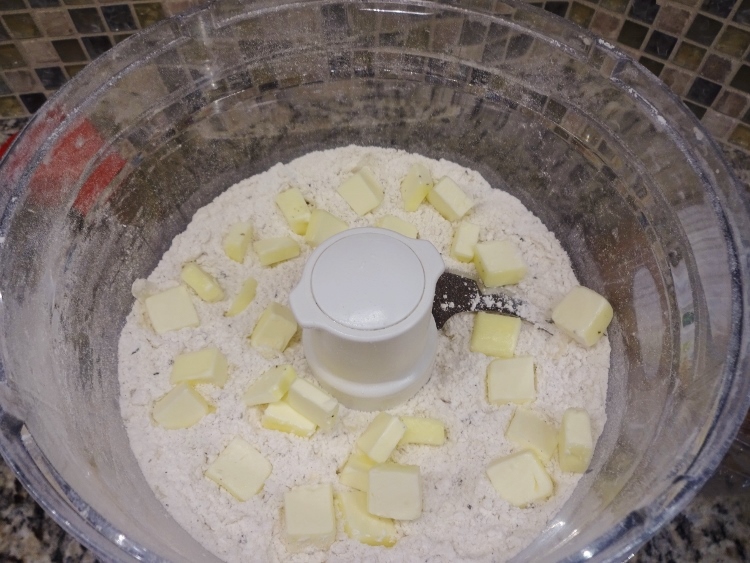
- Dice cold butter into ½” cubes and add to the food processor, and pulse until incorporated.
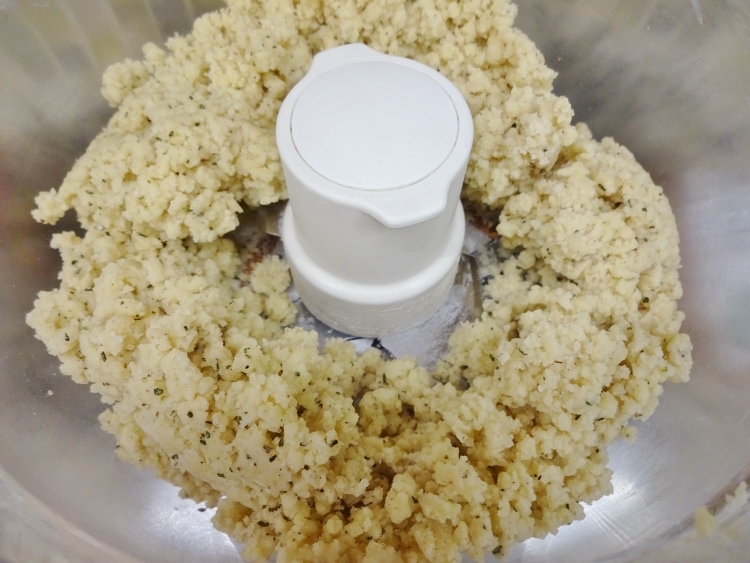
- Add ¼ cup heavy cream and process until the dough comes together to form a ball. If this does not occur, add more heavy cream, 1 Tablespoon at a time, and process until the dough forms a ball.
- Lightly flour a work surface. Turn out the dough and pat into a rough rectangle. Lightly flour the dough and your rolling pin, then roll the dough out to ¼” thickness. If your dough is not a perfect rectangle, don’t worry – you can reroll the scraps and cut again.
- Cut the dough into 1” squares (or any size to your liking, just note that it may change the baking time slightly!) and transfer to the baking sheets. The crackers can be placed close together; they will not expand much during the baking process. Sprinkle crackers with kosher salt.
- Re-roll and cut any scraps you may have left. I usually repeat this process several times until I have scraps enough for a single cracker. Alternatively, simply bake crackers with ragged edges –they are homemade, after all!
- Bake for 10-12 minutes, or until light golden brown in color. Remove from baking trays and allow to cool on a wire rack.
- These crackers are delicious by themselves, but I like to serve mine with apricot jam and goat’s cheese. Feel free to experiment with other dips and flavor combinations!
And as per usual, here is the step by step with photos on how to make this recipe:
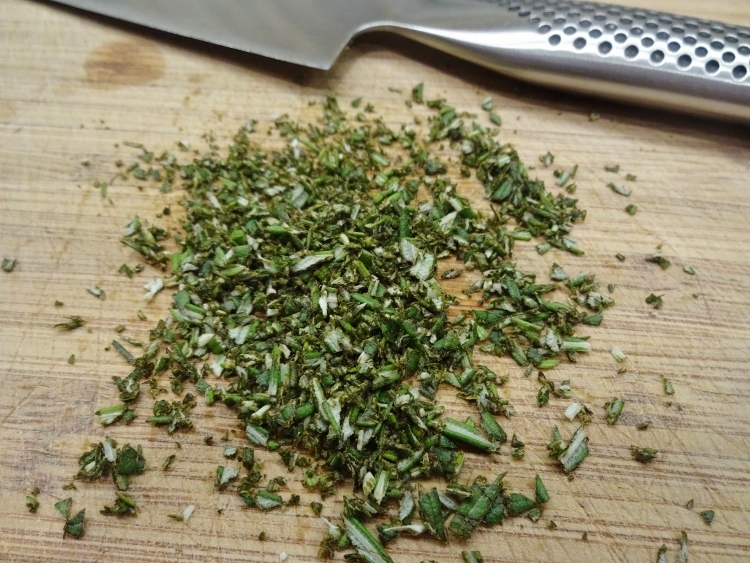
First, preheat the oven to 400˚F. Line two large baking sheets with aluminum foil or parchment paper. Finely mince the fresh rosemary, and grate the Parmesan if needed (I used pre-shredded for this recipe).
Now, in a food processor, blend the flour, Parmesan, rosemary, salt, pepper, and cayenne (to taste) until just combined.
Remember to use cold butter for this recipe! Cut the butter into small cubes, and drop into the food processor. Pulse to incorporate.
Then, add heavy cream and process until the dough forms a ball. If this isn’t happening, add a little more heavy cream (1 Tablespoon at a time, and you shouldn’t need any more than 2 extra Tablespoons).
Lightly flour a smooth, cut-resistant work surface. Turn out the dough ball, then lightly flour it and your rolling pin. Roll the dough to about 1/4″ thickness (don’t worry about the overall shape, you can cut away scraps and re-roll them).
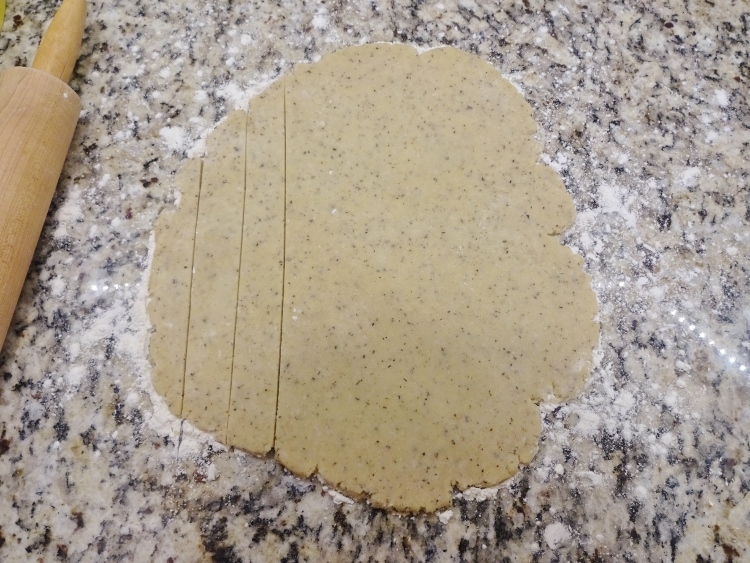
Cut the dough into 1″ squares (this isn’t an exact science, I eyeball this process. You want these crackers to look homemade, after all!). Feel free to cut crackers larger than 1″, just be aware that it may alter your cooking time slightly.
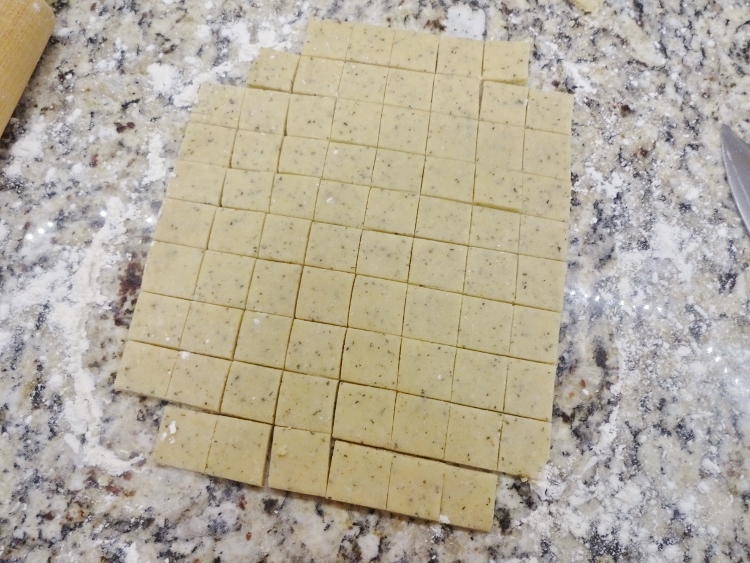
Transfer cut dough to the prepared baking sheets. The crackers can be placed pretty close together, they don’t really spread during baking. Sprinkle the crackers with Kosher salt.
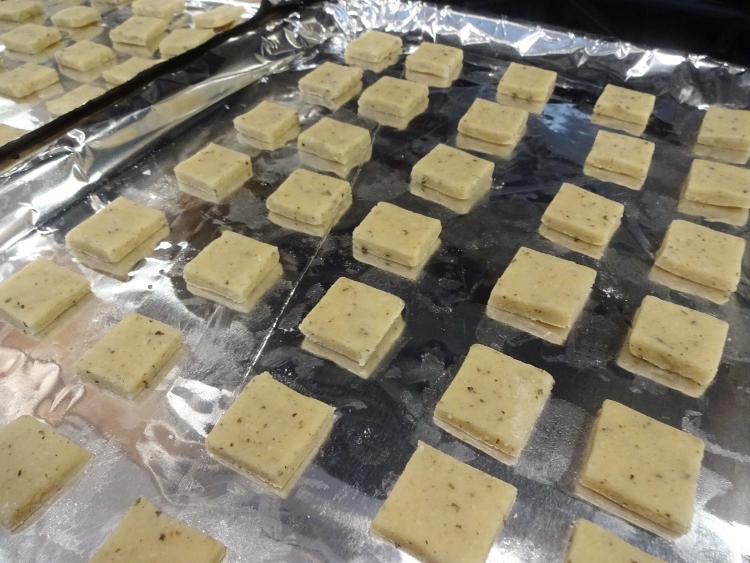
Re-roll and cut any scraps that are leftover, and repeat this process until you have no dough left to cut. Or, if you’re lazy like me, just use the less-than-perfect edges to demonstrate (again) the fact that these are homemade!
Bake for 10-12 minutes on the center rack, or until the crackers have a light brown color.

Remove from baking tray and allow crackers to cool completely on a wire rack.
Serving options are endless. I have suggested goat’s cheese and apricot jam, but feel free to experiment or just nibble on them plain. They will keep in a sealed Ziploc bag or container for about a week. But honestly, as snackable as these crackers are, they probably won’t even last a day!
Recipe credit: Valerie Bertinelli at the Food Network

