
My baking commandments are the rules that I follow in all of my baking endeavors. I have picked them up over the years from family, friends, textbooks, blogs, and my own personal experience. I hope these will help you hone your baking skills just as they have helped to hone mine.
Of course, these rules are in no way law, and many bakers may disagree with me on certain points. So I encourage you to do your own research, experiment with your own recipes, and find what works best for you!
- Use softened butter. Most bakers will tell you to use softened butter in every recipe, largely in part because hard/cold butter is nearly impossible to cream into other ingredients. Where my opinions differ, however, is how long to soften your butter. Typically, removing the butter from the fridge about an hour before you’re ready to bake will be sufficient. However, I work with a single hand mixer that is older than I am, and its power is severely lacking. Therefore, I often leave my butter out overnight to allow it to completely soften before using it. The main point here is to never use cold butter, unless the recipe specifically states so. Also, avoid the microwave as a method of softening butter. Whenever possible, try to remember to take the butter out of the fridge 1-2 hours before you plan on baking. If that fails, however (and I’ve been guilty of this too!), you can use the microwave. But please be patient; you want to soften the butter, not melt it! Try 15 seconds at first, then 5 second intervals until you can press your finger into the butter and create a dimple with relative ease.
- Use unsalted butter always, unless specifically mentioned otherwise. This is a pretty simple rule, so I won’t drag it out beyond the necessary. Pro Tip, though: if you’re in a bind and all you have on-hand is salted butter, you can use it, and just leave the salt listed in the recipe out! (Use this as a last resort though, please!
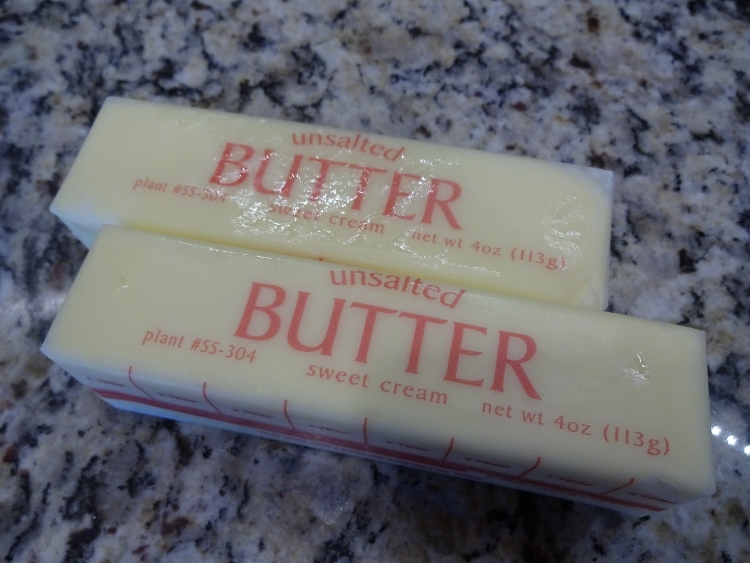
Softened, unsalted butter is a must!
- Use toothpicks to taste cakes for doneness. You probably know this trick already, but in case you don’t, here is a really simple way to find out if your cakes are done! Open the oven door and stick a toothpick into the very center of the bread, cake, cupcake, etc. Try to push the toothpick in as far as possible, and then pull straight out. If the toothpick is clean (minus a few crumbs that may have clung on), your cake is done! If it’s still goopy, you need to keep baking it!
- Check everything for expiration dates. Of course, expiration dates are important on most things in your kitchen, but I am concerned with a few very important ingredients: your leaveners. These include baking soda, baking powder, cream of tartar, and yeasts. Leaveners are responsible for the rising in your baked goods, for the fluffiness in cakes, and the air pockets in breads and rolls. They are an important part of the chemistry of baking, and if these ingredients are expired, your baked goods could quite literally be a flop! So be sure to always keep fresh ingredients on hand!
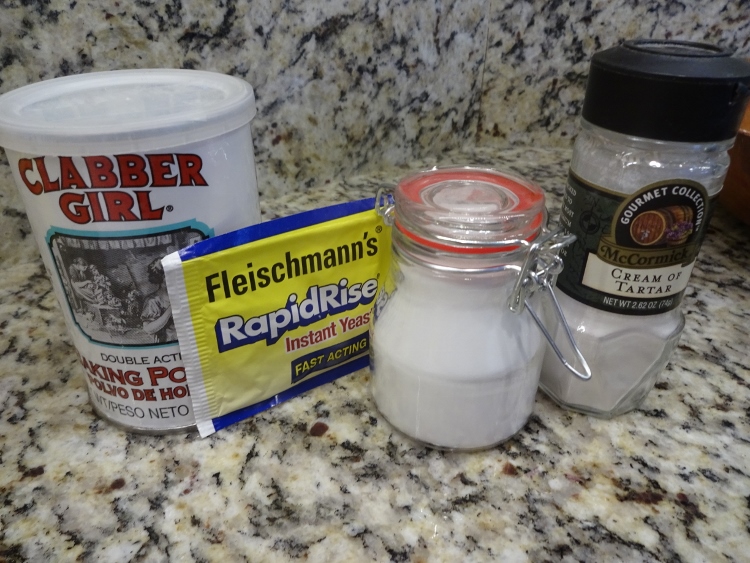
Leaveners are an important part of any baking project! Make sure yours are fresh!
- Eggs! I always used Grade A, large eggs. Using eggs that are too large or two small could throw off the proportions in your recipes, making batters runny or too thick. Large eggs are a good, middle-of-the-road size to use in all of your baking, so I suggest you put the “Extra Extra Large” back on the shelf and stick to good-ole “Large.”
- Be a good student – read ahead! You should always read every recipe well before you intend to make it. I can’t tell you how many times I’ve started something for an event that’s two hours away (talk about procrastination!) only to find out that the dough should rise for 6 hours, or chill for 3! Reading recipes will spare you headaches in the future, so be prepared and plan ahead! Be sure to also build in time for baked goods to cool before attempting to ice and decorate them!
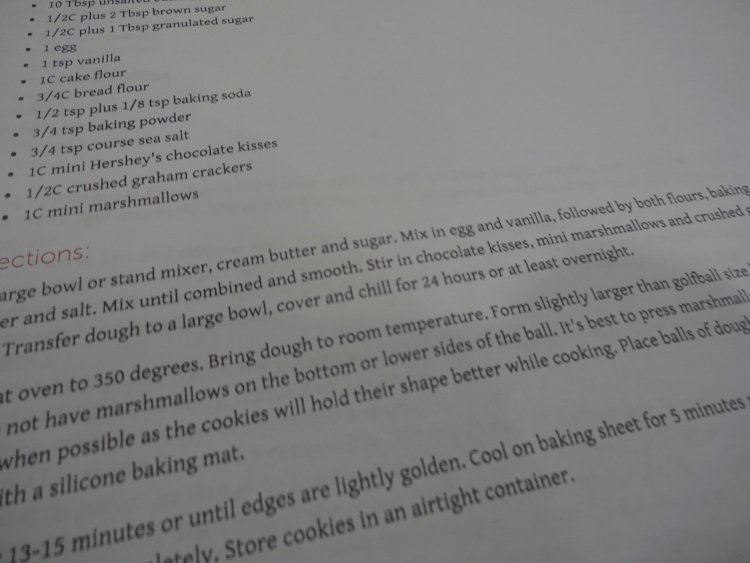
Read carefully – see where this recipe says the cookies should chill for 24 hours?!
- Get Frenchified and practice mise en place. This is the fancy French way of saying “be prepared; have everything in place.” This means setting out your ingredients ahead of time, prepping by chopping or cutting anything that needs it, and bringing butters, cream cheeses, eggs and other ingredients to room temperature (if required!). Some people will also tell you to measure out all your ingredients ahead of time and have them ready to dump into the mixing bowl, but that means cleaning about 10x more dishes and I’m not about that life. So you do you, and practice whatever works best in your kitchen!
- Understand your weights and measures. This one is a bit tricky, even with years of practice and an engineering degree under my belt. Some basic things to know: fluid and weight ounces are NOT the same. The only time they ARE the same, is with water (that magical fluid is wondrous, I swear!) I will tell you up front that weight measures for dry ingredients are ALWAYS going to be more precise than the typical cup/tablespoon/teaspoon measurements we like to use in the good ole USA. But because I’m pro doing-less-work, I hardly ever take the time to specifically measure my ingredients, unless a recipe specifically gives ingredients in weight. Here is a link to a great conversion table, which you can use for any number of ingredients and weights and measures. Another thing to note is that those lovely Pyrex glass measuring cups you have floating around in your kitchen are only to be used for liquids. Because of the contour of the glass, it’s near impossible to correctly measure dry ingredients in one of these containers. So always use your plastic measuring cups (you know, the nesting ones in different sizes) for dry ingredients. This way you can use the flat edge of a knife to completely level your ingredients for accurate measurements!
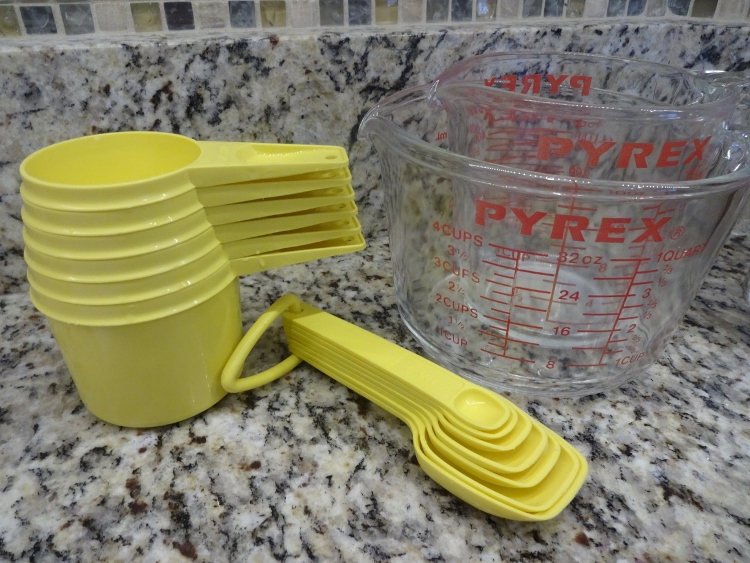
My handy dandy measuring cups and spoons. On the left for dry ingredients, on the right for wet ones!
- Sifting flour is one of the most annoying things I have ever done, I think. But when I finally gave in and started religiously sifting the flour in all of my recipes, the quality of my baking transformed almost overnight. Sifting flour is important as it tends to get compacted in the bag in comes in, or even in your measuring cup as you scoop it. Running flour through a sifter is a great way to reverse the compaction process. My method of sifting may be overkill, but it works for me so I’m not changing it anytime soon! First, I scoop the necessary amount of flour direct from the bag and pour it into a sifter. I sift onto a large plate or into a large bowl, then use a spoon to scoop it up and remeasure. It’s amazing how much flour is left in the bowl after sifting – just proof at how compacted the flour was in the bag! If you don’t like my method, I promise my feelings aren’t hurt (too badly, anyway), but I encourage you to explore other bakers’ methods, and develop your own. What matters most is that you’re sifting. Don’t skip the process altogether, or your baked goodies will turn out dense and heavy! I promise, it is worth the extra effort!
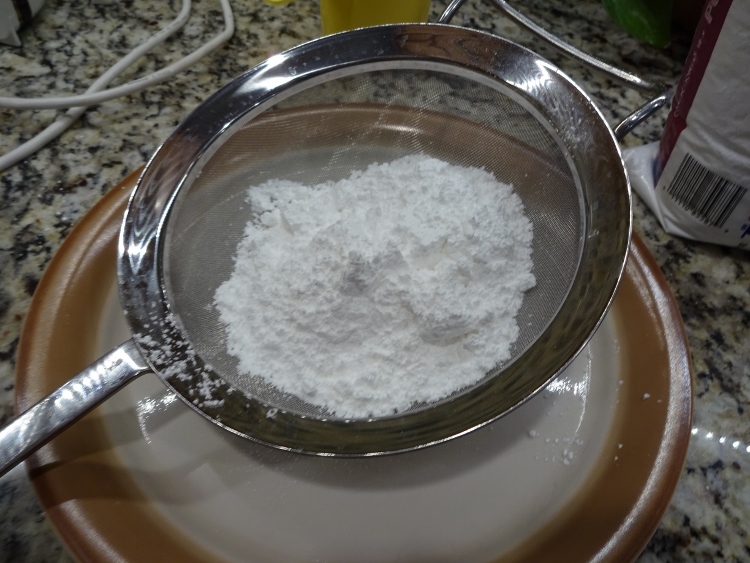
This is my sifter, one of the most-often-used tools in my kitchen!
- I want to share with you some essential tools in my kitchen. First is my sifter. As mentioned above, I use it in every single recipe that requires flour (or powdered sugar for icings and glazes). It is an irreplaceable tool in my kitchen. There are tons of models and styles out there, so I encourage you to find one that works best for you! Next up, I have two ice cream scoops of different sizes. In my kitchen, though, these are cookie scoops! These are the perfect tool for making uniform cookies in varying sizes. I recommend having at least one scoop, they are so worth the investment!
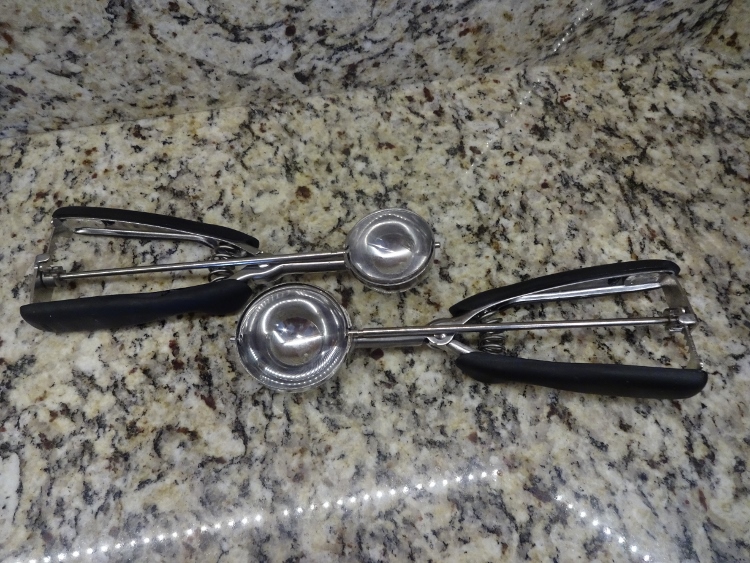
my cookie scoops save me from lots of sticky situations!
I also highly recommend having some cooling racks. Not required but strongly encouraged, they help cool baked goods evenly and quicker than leaving them on the counter top or baking sheet. I have four, I recommend having at least two. Of course liquid and solid measuring cups and spoons are a must. I use some Tupperware cups that are older than I am, and (knock on wood) still work wonders! If you’re on the hunt for a set, find one that has more than just the basic ¼, 1/3, ½ and 1 cups. My set has 6 cups and I love them! Ditto with measuring spoons, find a set that has at least a 1/8th tsp measure. A hand mixer is a must, but if you’re willing to go the extra mile I recommend a KitchenAid stand mixer. I don’t have one yet, but it’s in my dreams almost every night. When I buy my first home, the Kitchen Aid will be the appliance I design the rest of my kitchen around! Parchment paper is a wonderful tool to have on hand. I buy mine in pre-cut sheets that are perfect for all occasions. I love this non-stick, oven safe material! If you’ve never used it, I recommend buying a roll and then trying out my Key Lime Swirl Cheesecake Bars recipe, just to see how many wonders parchment paper can really work!

Parchment paper is my go-to material for baking all my cookies!
Lastly, a small scale is a really helpful tool to have around the kitchen. I have an OXO digital scale that reads in lbs/oz or kg/g and I love it. Not just for baking, a scale is a great addition to any kitchen!
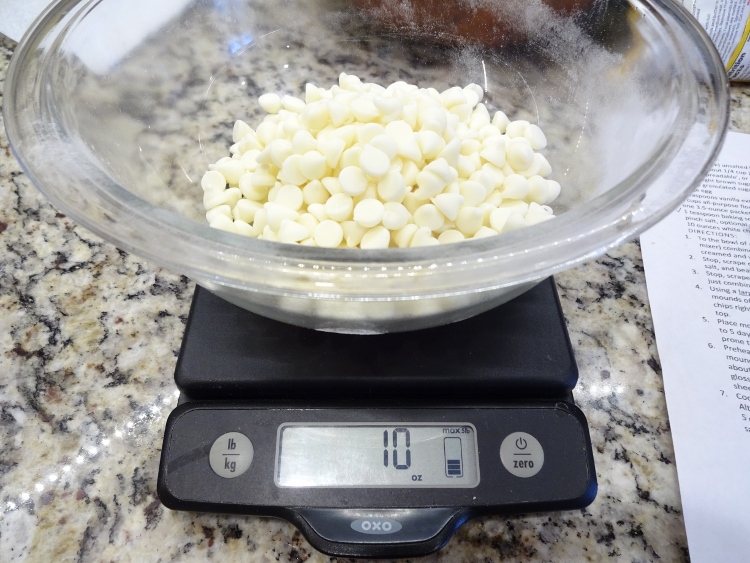
Using my scale to measure chocolate chips for an upcoming recipe!
Another tool I love having in the kitchen is my computer or phone. Being able to look up anything I’m unsure or curious about is a big part of my passion for baking, so use the internet to your advantage! And if you want to binge watch something and learn at the same time, check out Good Eats with Alton Brown (there’s some episodes on Netflix right now!). Alton is a total geek, fantastic teacher and great cook. His show is entertaining and informative, and if you’re looking to learn about food, this is a great place to start!
So there you go, my Baking Commandments. Maybe over the years these will increase in number, but these 10 will give any budding baker a great jumpstart.
Best Wishes and Happy Baking,
Erica

I totally agree with all of your commandments, Erica! I also have a love of cooking and baking. It’s a great hobby and I highly recommend it to anyone. I look for and to more of your posts.